
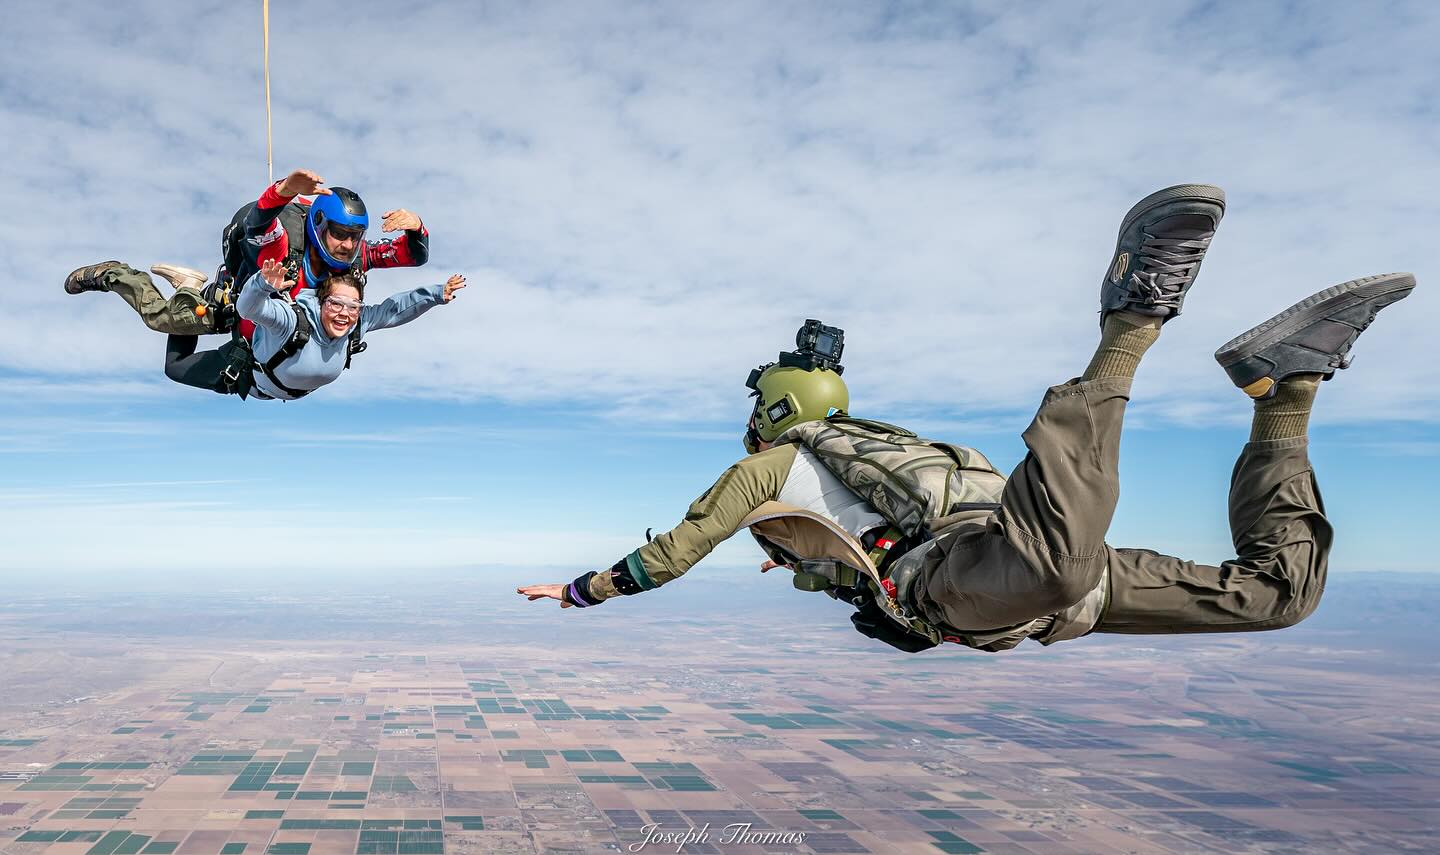

"The Competition Camera suit is a serious suit, for serious jumps.
"The large wings and booties mean I always have more gas in the tank when I need it. Left too early on a 4-way exit? The booties let me power up the hill and recover. Feeling the burble on a bigway? The wings have my back and I rely on them so I don't take somebody out. It's the suit I've trusted for a World Meet and a World Record and it hasn't let me down."

"Trust isn't optional, and TonySuits has earned mine."
"As a videographer, I need to have absolute confidence in my camera wings when the nine of us launch into the sky at 120 mph."
"You've gotta' dress for success!"
"Invest in a good set of wings from TonySuits. It's worth every penny when you absolutely have to get the shot. And check out their new measurement scanner! Proudly made in the USA."

"The camera jacket wings give me what I need for the shots I want."
"The jacket wings work great for being above a belly formation, but they really shine (and finally unlocked for me) getting the "below shot."
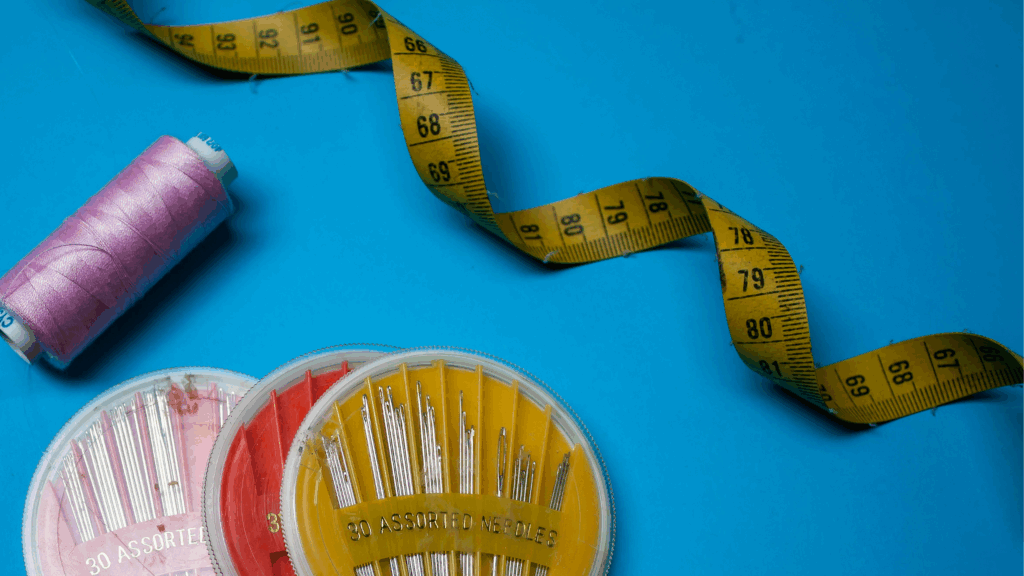
Measuring Tips
- Click to Print our Measurement FORM (updated 05/2026)
- Click to Print our Measurement GUIDE (updated 01/2025)
- Wear the thickest clothes that you want to fit underneath your suit.
- Please do not add to the measurements. In the jumpsuit customizer there is an option to choose the fit, from tighter to looser.
- Please give us the measurements in INCHES. There is an admin cost if you would like us to convert your measurements for you.
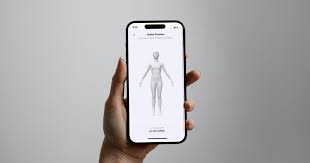
MEASUREMENT SCANNER
Send us your measurements with a quick body scan.
BEFORE SUBMITTING SCAN
You'll need to know and prepare the following:
-
Your height and weight (as accurately as possible).
-
Wear form-fitting clothes. NO socks or shoes.
-
Prepare your background to be well lit and clear of clutter.
-
Use a smart phone or tablet to scan the QR code after clicking the link.
-
Follow the instructions in the app to submit your body scan.
AFTER SUBMITTING SCAN
- Get measured, by-hand. At this time, the scanned measurements are used as a reference, and measurements by-hand are still requested. To make this easier, we've provided a printable form and PDF guide with illustrations under the Measurements tab of each jumpsuit page. [OR Jump to Measuring Guide Page (LINK)]
- Enter your measurements and submit your order through the jumpsuit customizer.
QUESTIONS
Email us at: [email protected]
ALL WING JACKETS
Wing Types
The A-Wing, B-Wing, and C-Wing.
The D-Wing is not available for the jacket or HotWing.
Wing Attachment Point
The A and C wings fasten with the standard Fastec® clip. Sew the Fastec® clip loop to the leg and then clip it to the wing. (Ask a rigger for help).
An upgrade to a brass R.S.L clip is available.
Lateral Band
It is very important that the wing does not extend below the rig's lateral band or a folding of the wing will occur, inhibiting the wing dynamics.
Standard Camera Jacket
The accessibility and comfort of the camera jacket makes it our most popular model for camera videographers.
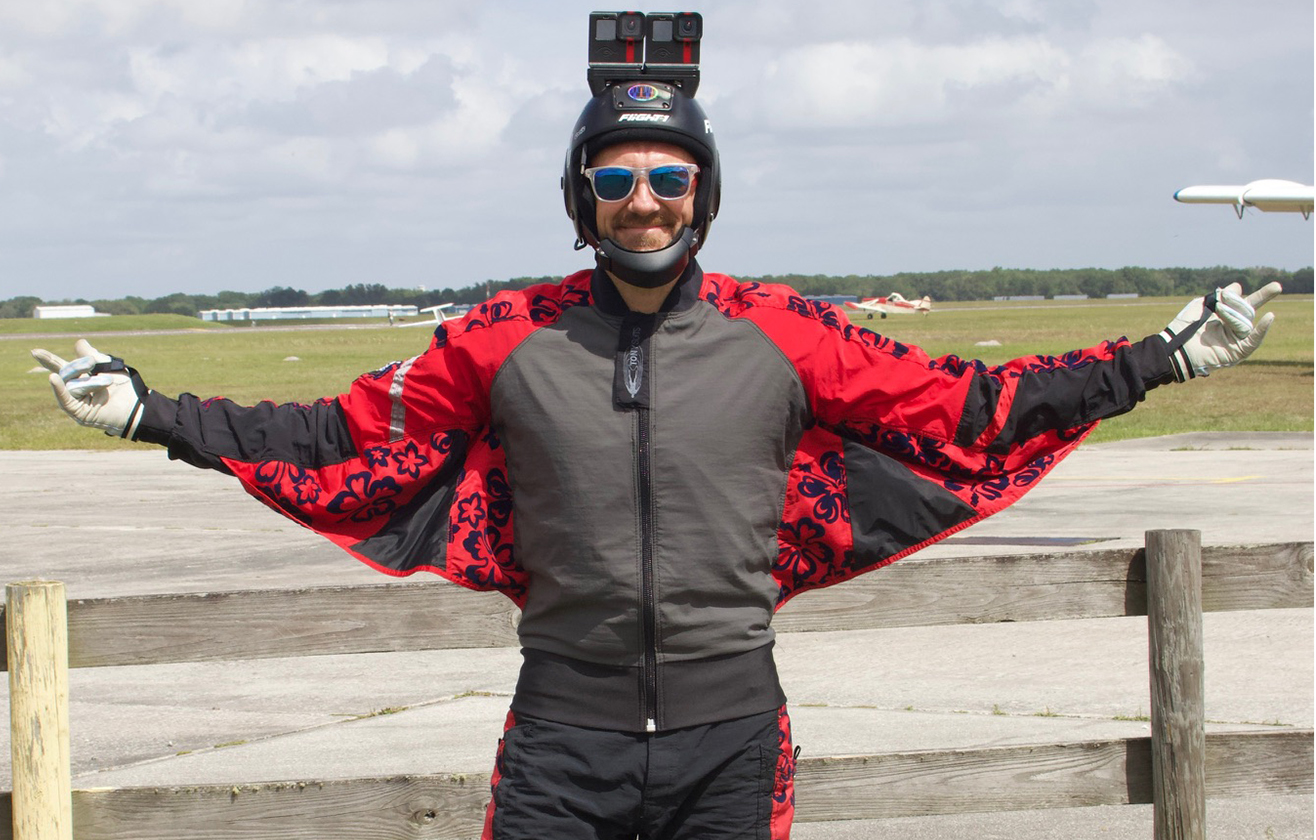
HotWing Camera Jacket
No collar, no zipper, no waistband. Order yours today and have a cooler experience.
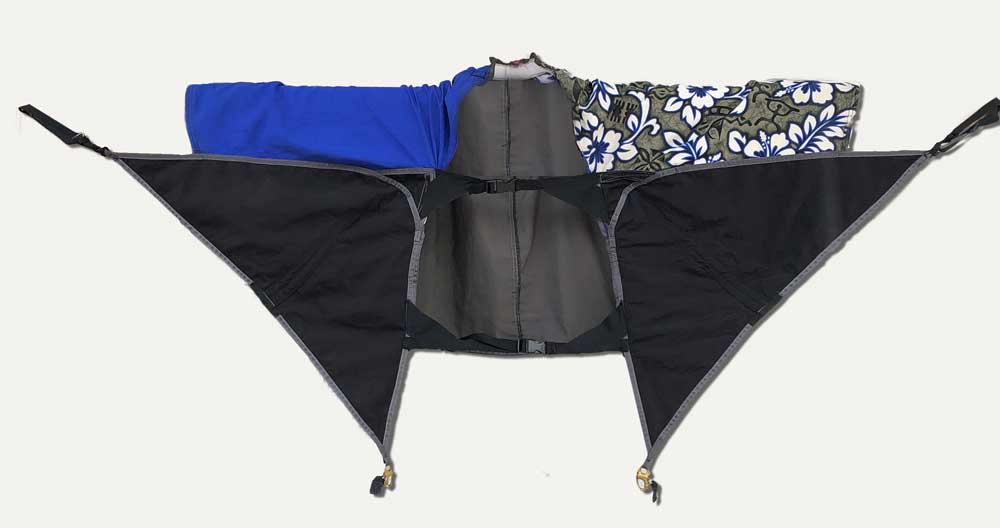
WING SPECS
'A' Wing
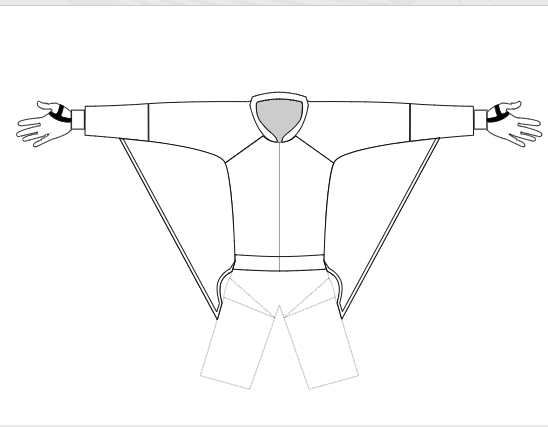
- Medium wing, attachment below the leg strap
- Sewn into side seam
- Wing reach = Mid-forearm to below the leg strap
- Attachment point = Fastec® clip or brass R.S.L
'B' Wing
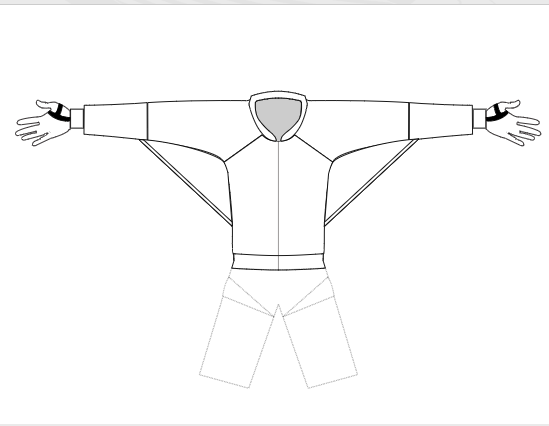
- Smallest camera wing, no attachment clip
- Sewn into side seam
- Wing reach = Mid forearm to waist
- Attachment point = none, sewn into side seam
'C' WING

- Medium wing, attachment below the leg strap
- Sewn onto the front of the arm (not the side seam)
- Wing reach = Mid-forearm to leg strap
- Attachment point = Fastec® clip or brass R.S.L
*most popular camera wing for filming tandems
'C+' WING
- Same size as C-wing, but placed higher on the arm for better sitting position
'Sit' Wing (back of arm)
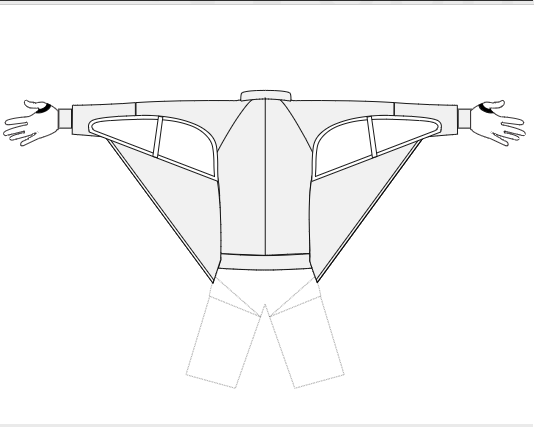
- Adding a "Sit Wing" for drag
- Wing reach = Mid-forearm to upper back
- Attachment point = none
Dual Sit Wing
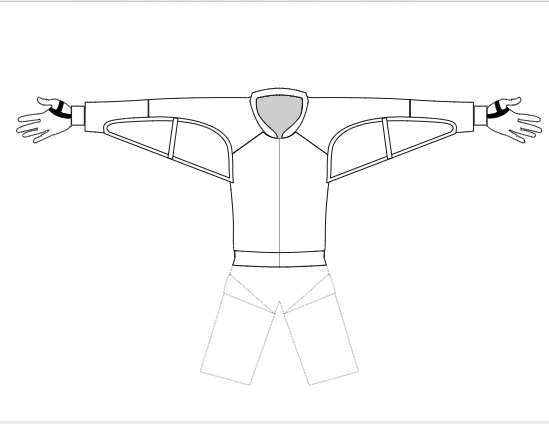
- "Sit Wings" sewn onto the front and back of arm
- Wing reach = Mid-forearm to chest
- Attachment point = none
Alternative to the jacket, check out the SIT SUIT.
RETURN POLICY ON STOCK SUITS AND STORE ITEMS
TonySuits will accept returns for stock suits and store items with a restocking fee of $100 per box. Shipping cost back to TonySuits will be the customer's responsibility.
CUSTOM SUIT WARRANTY/RETURN POLICY
Every custom TonySuits product is manufactured at our Zephyrhills, Florida facility and is made-to-order with specific customer sizing and design. Due to this customization, there is a 35% restocking fee for any RETURN or REFUSAL to take possession of a product they ordered.
TonySuits has a 90 day fit warranty. This includes only items that are inconsistent with the original order as placed by the customer or dealer. Shipping will be included both ways for approved full warranties. Note: 90 days begins on the shipped date.
- Returns for alterations will begin at $60 and require an email approving return shipment. The email must include the suit serial number (located inside the inner pocket), photos (-with rig on) from all angles and a complete written description of the areas to address. Please print and include inside the shipment.
For products with fit issues, we will review and work with the customer/dealer on a case by case basis.
WARRANTY IS VOIDED WHEN:
- The suit is built to the measurements provided. In that case, replacement will be priced on a case by case basis.
- Unauthorized repairs (those not approved by TonySuits in advance) are done on the suit.
- Notification is received at TonySuits after 90 days from the ship date. These requests will be reviewed and resolved on a case by case basis.
- You choose NOT to follow the TonySuits maintenance and care instructions included with the original shipment.